A big storm just rolled through and you're wondering if your roof made it. Before you panic — or ignore it and hope for the best — here's a step-by-step guide for what to do after storm damage.
Step 1: Stay Safe First
Don't go up on your roof. Seriously. After a storm, surfaces are wet and slippery, and there may be structural damage you can't see. If there are downed power lines anywhere near your house, stay inside and call your utility company. Your safety matters more than any repair.
Step 2: Do a Ground-Level Check
Walk around your property and look for obvious signs of damage from the ground. Check for:
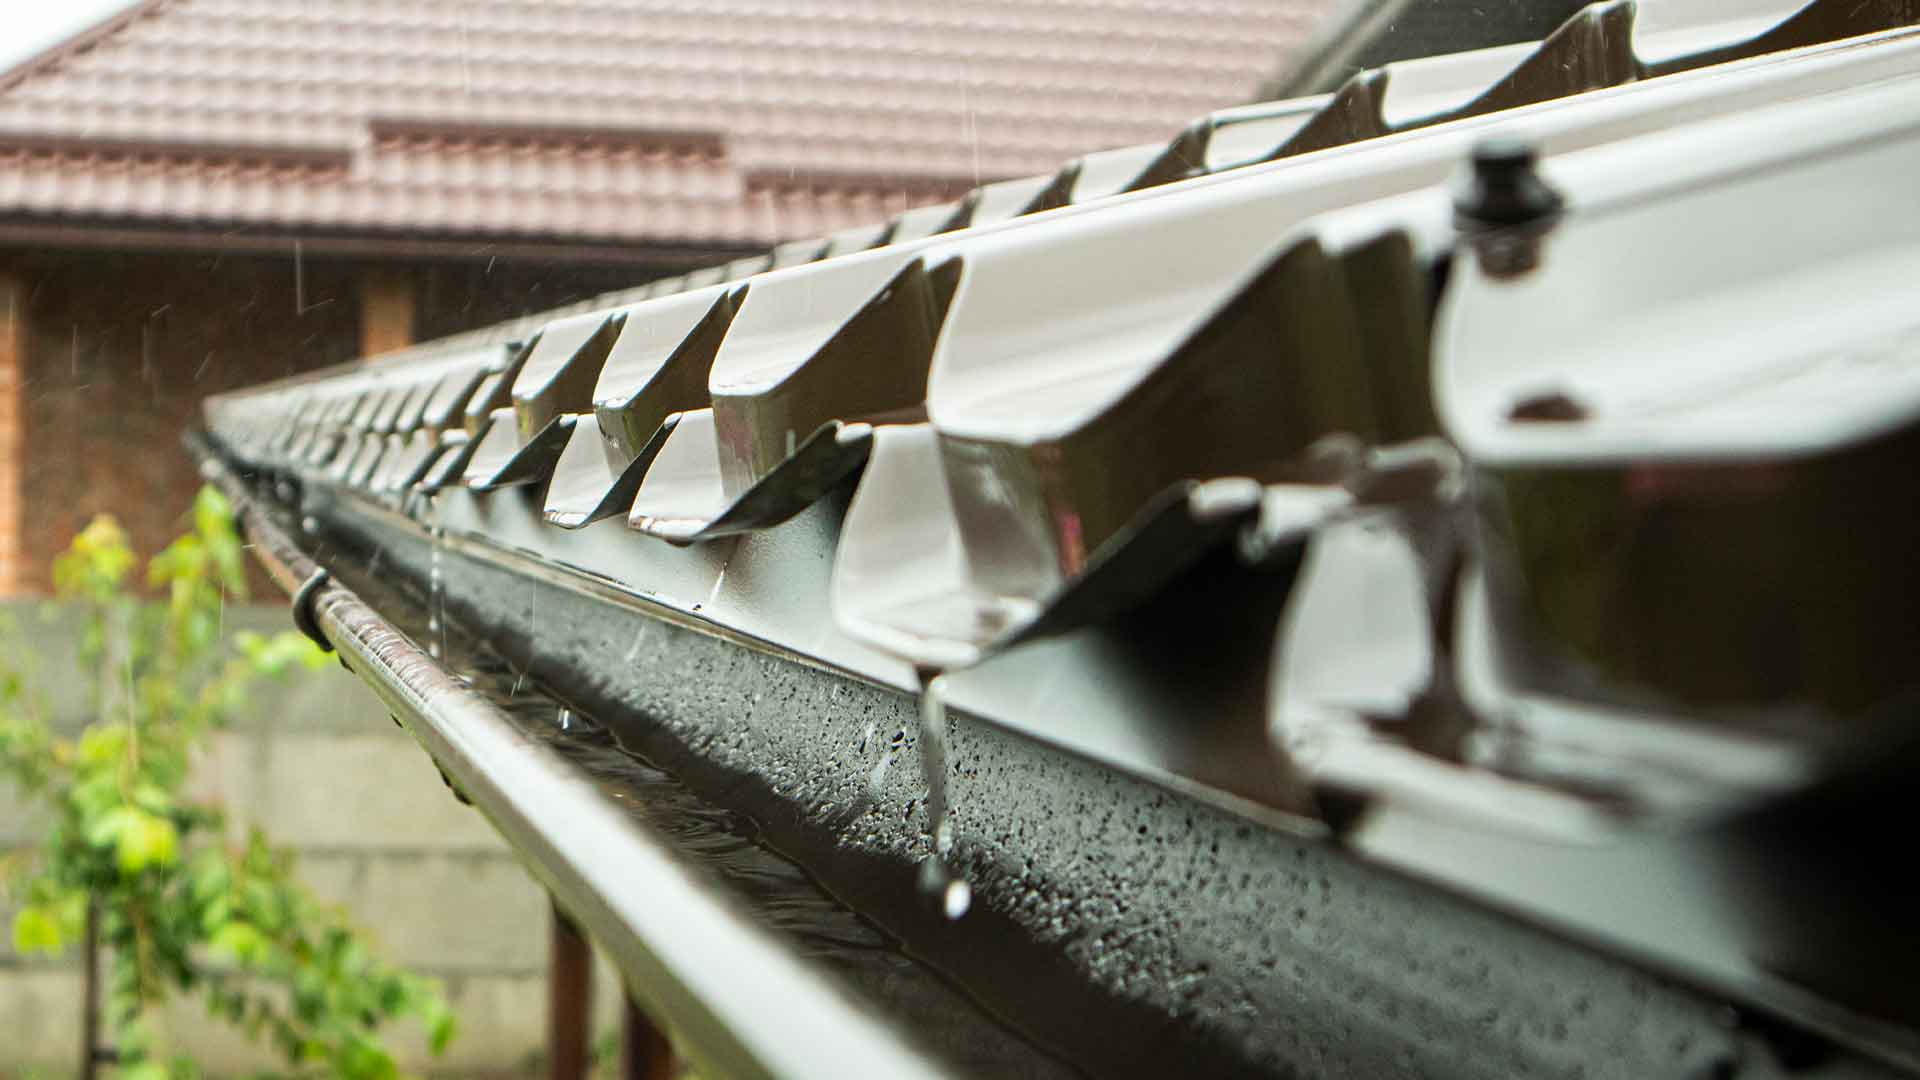
- Shingles or roofing material on the ground
- Dented or displaced gutters and downspouts
- Broken or cracked siding
- Damage to fences, sheds, or other structures
- Dents in outdoor HVAC units or vent covers
If you can see damage from the ground, there's almost certainly more damage up on the roof that you can't see.
Step 3: Document Everything
This is the step most people skip, and it costs them later. Take photos and videos of all visible damage — from multiple angles. Include wide shots that show the overall area and close-ups of specific damage. Take photos of any debris on the ground too. Date-stamped photos from your phone are perfect. This documentation is critical for your insurance claim.
Step 4: Prevent Further Damage
If there's an active leak, put a bucket under it and move furniture or valuables out of the way. If you have a tarp and can safely reach the area (single story, dry conditions), covering a damaged section with a tarp can prevent water intrusion until a professional gets there. Most insurance policies actually require you to take reasonable steps to prevent additional damage.
Keep receipts for any temporary supplies you buy — tarps, buckets, plywood. These are usually reimbursable through your insurance claim.
Step 5: Call Your Insurance Company
File a claim as soon as possible. Most homeowner policies cover storm damage including wind, hail, and fallen trees. When you call, have your policy number ready and be prepared to describe the damage. They'll assign an adjuster who will come inspect the damage — this usually happens within a week or two, depending on how widespread the storm was.
One important note: don't sign anything or agree to any repairs before the adjuster inspects. Some companies will try to get you to commit before the insurance process plays out.
Step 6: Get a Professional Inspection
Call a licensed roofing contractorfor a proper inspection. A good roofer will get up on the roof, check for damage you can't see from the ground — cracked shingles, lifted flashing, dented vents, compromised seals — and give you a written report. This report supports your insurance claim and gives you an accurate picture of what needs to be repaired.
At MGS Roofing, we do free storm damage inspections. We'll walk you through exactly what we find and help you understand what your insurance should cover. Schedule your free inspection.
What NOT to Do After a Storm
A few things to avoid:
- Don't climb on the roof yourself. Leave that to professionals with the right equipment.
- Don't wait too long. Small leaks become big problems fast. Hidden damage gets worse with every rain.
- Don't hire storm chasers. After big storms, out-of-town crews go door to door offering cheap repairs. They take your money and disappear. Use a local, licensed contractor with a real address and real reviews.
- Don't make permanent repairs before the adjuster visits. Temporary fixes are fine, but hold off on full repairs until insurance has documented the damage.
Think Your Roof Has Storm Damage?
We offer free storm damage inspections across Central New Jersey. We'll document the damage, walk you through your options, and help with the insurance process.